
How to make your own beeswax ornaments:
What you will need:
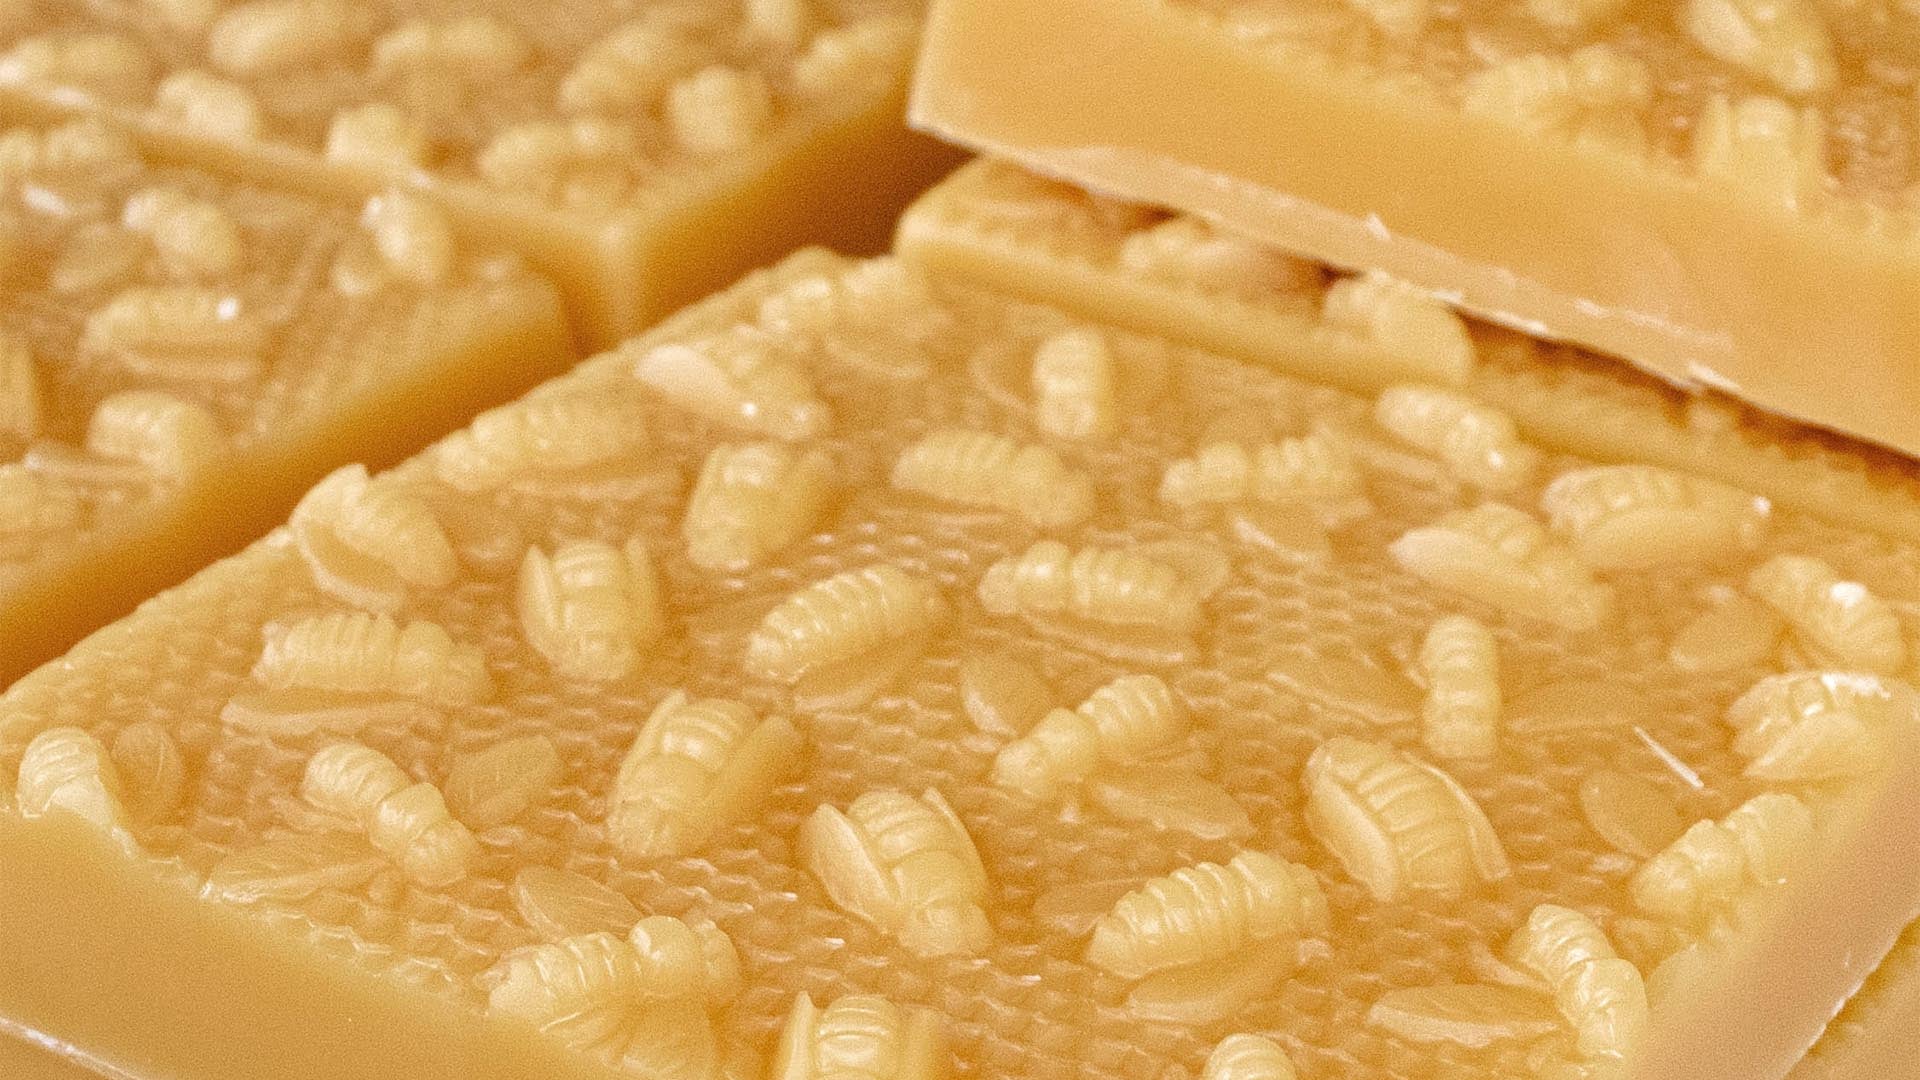
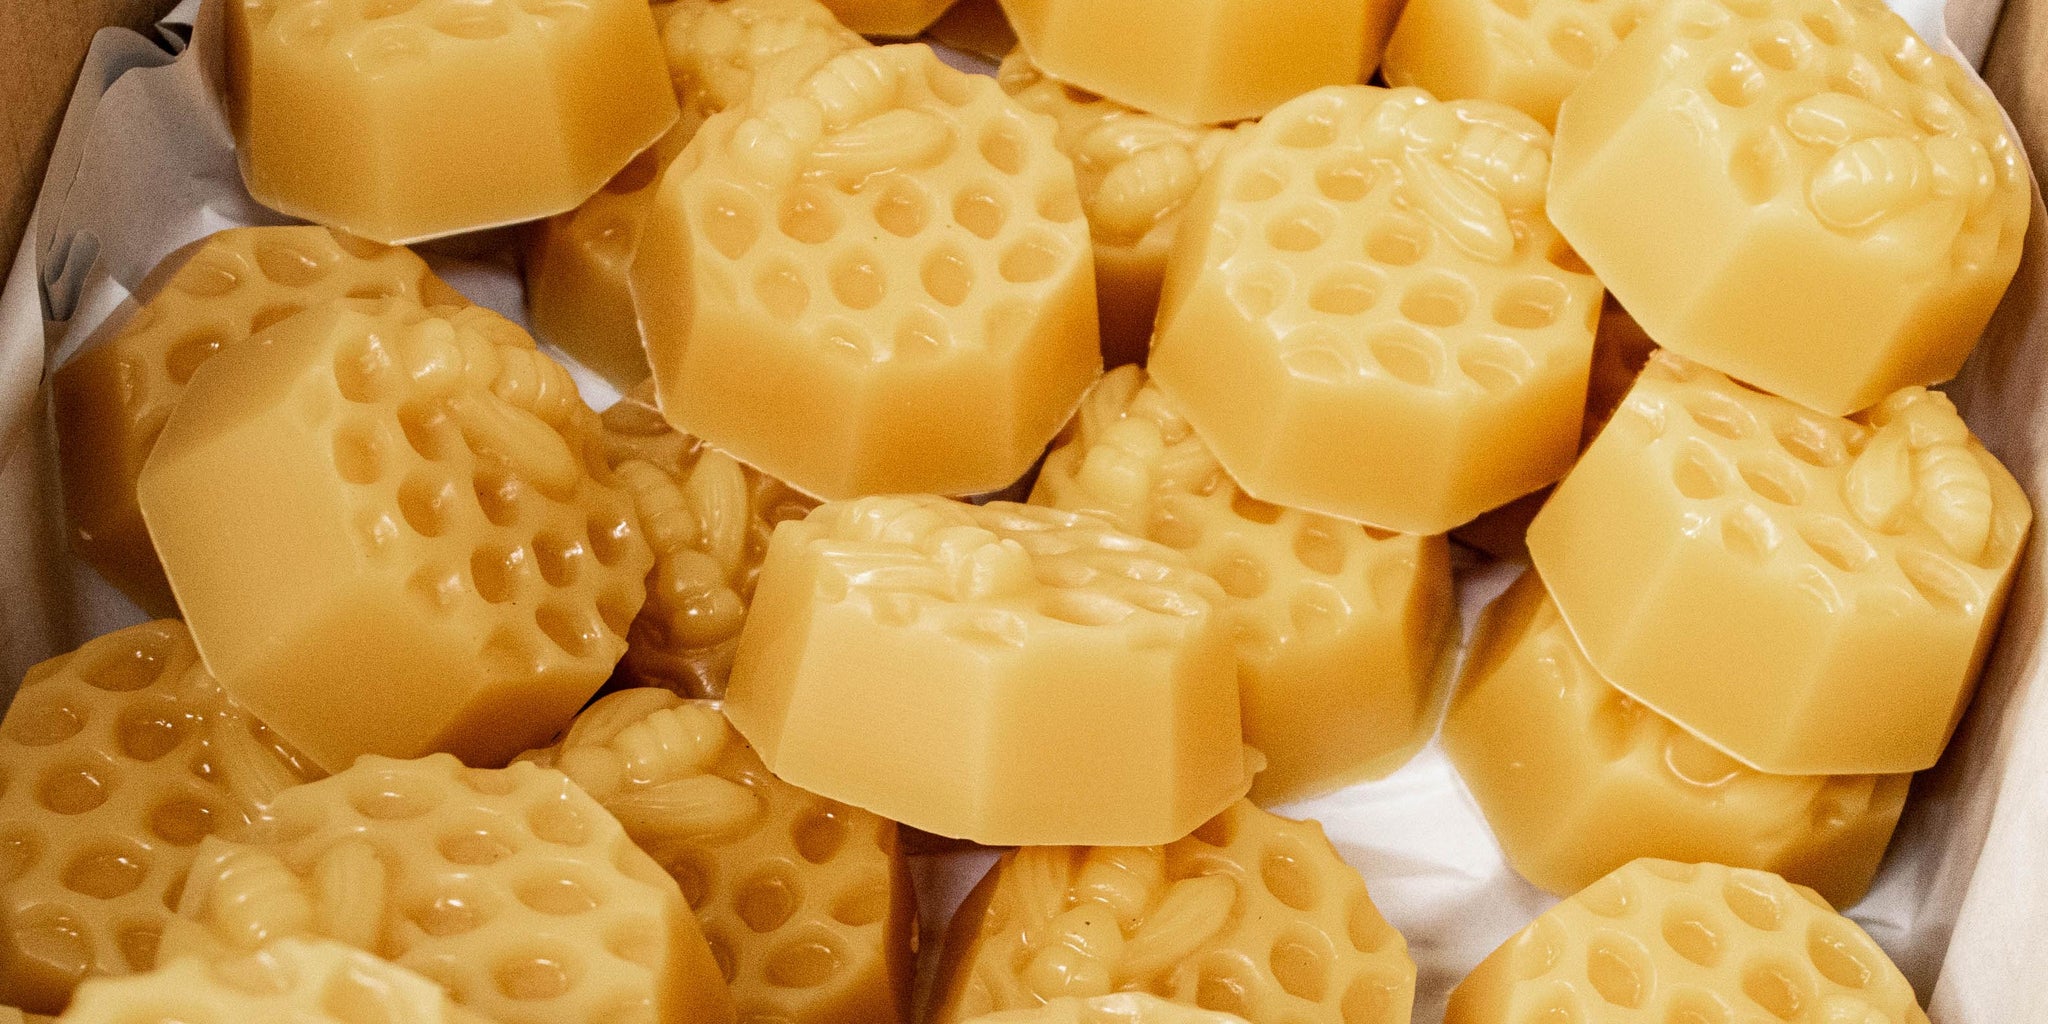
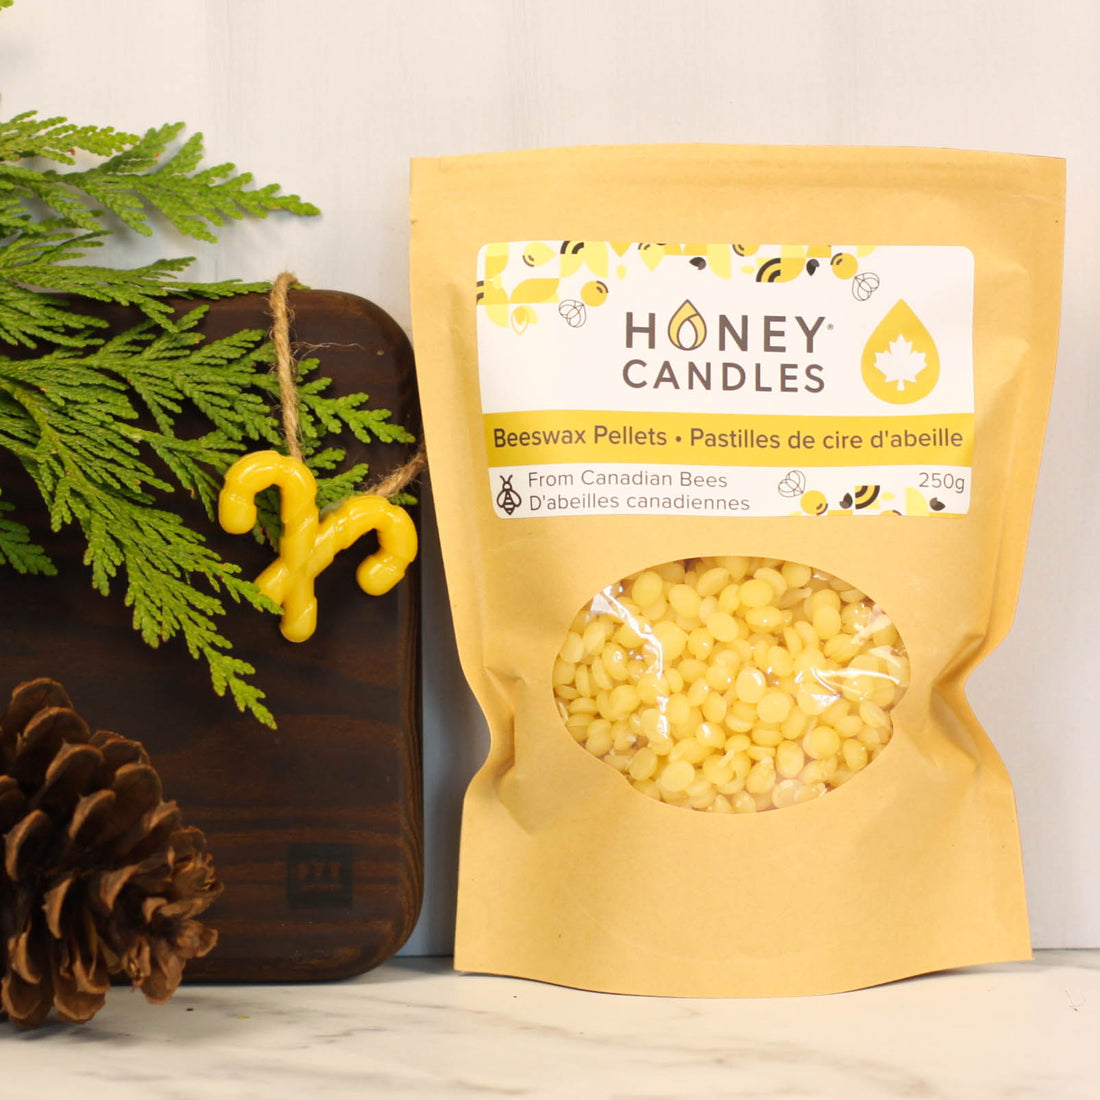
- Honey Candles Natural Beeswax Pastilles
- Pot with 1 - 2 inches of water
- Container to melt beeswax in
- Mold of choice
- String or twine of choice
Steps:
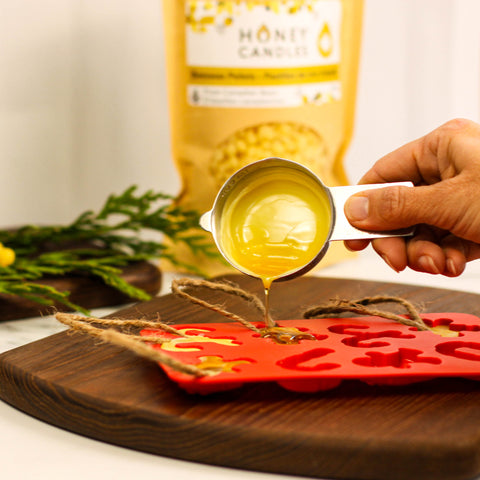
- Melt the beeswax pastilles, you can do this effectively by creating a double boiler.
- To make a double boiler fill a small pot with approximately 1-2 inches of water and place a vessel to melt beeswax in on top. (For this project it would be easiest to use a glass measuring cup.) Add beeswax to the vessel you chose and place inside the pot. If you use a measuring cup the handle can hang over the side of the pot.
- Heat water until it reaches a gentle boil (don't let it boil dry) and the beeswax melts.
- Cut your string into your desired length and have enough for the amount of ornaments you wish to make.
- Have your mold ready, for this project we selected a silicone mold and it was easy to pop the beeswax out of after.
- Gently and carefully pour the melted beeswax into the molds.
- Place your twine in a 'U' shape with the ends inside the poured beeswax. This will create your ornament hook.
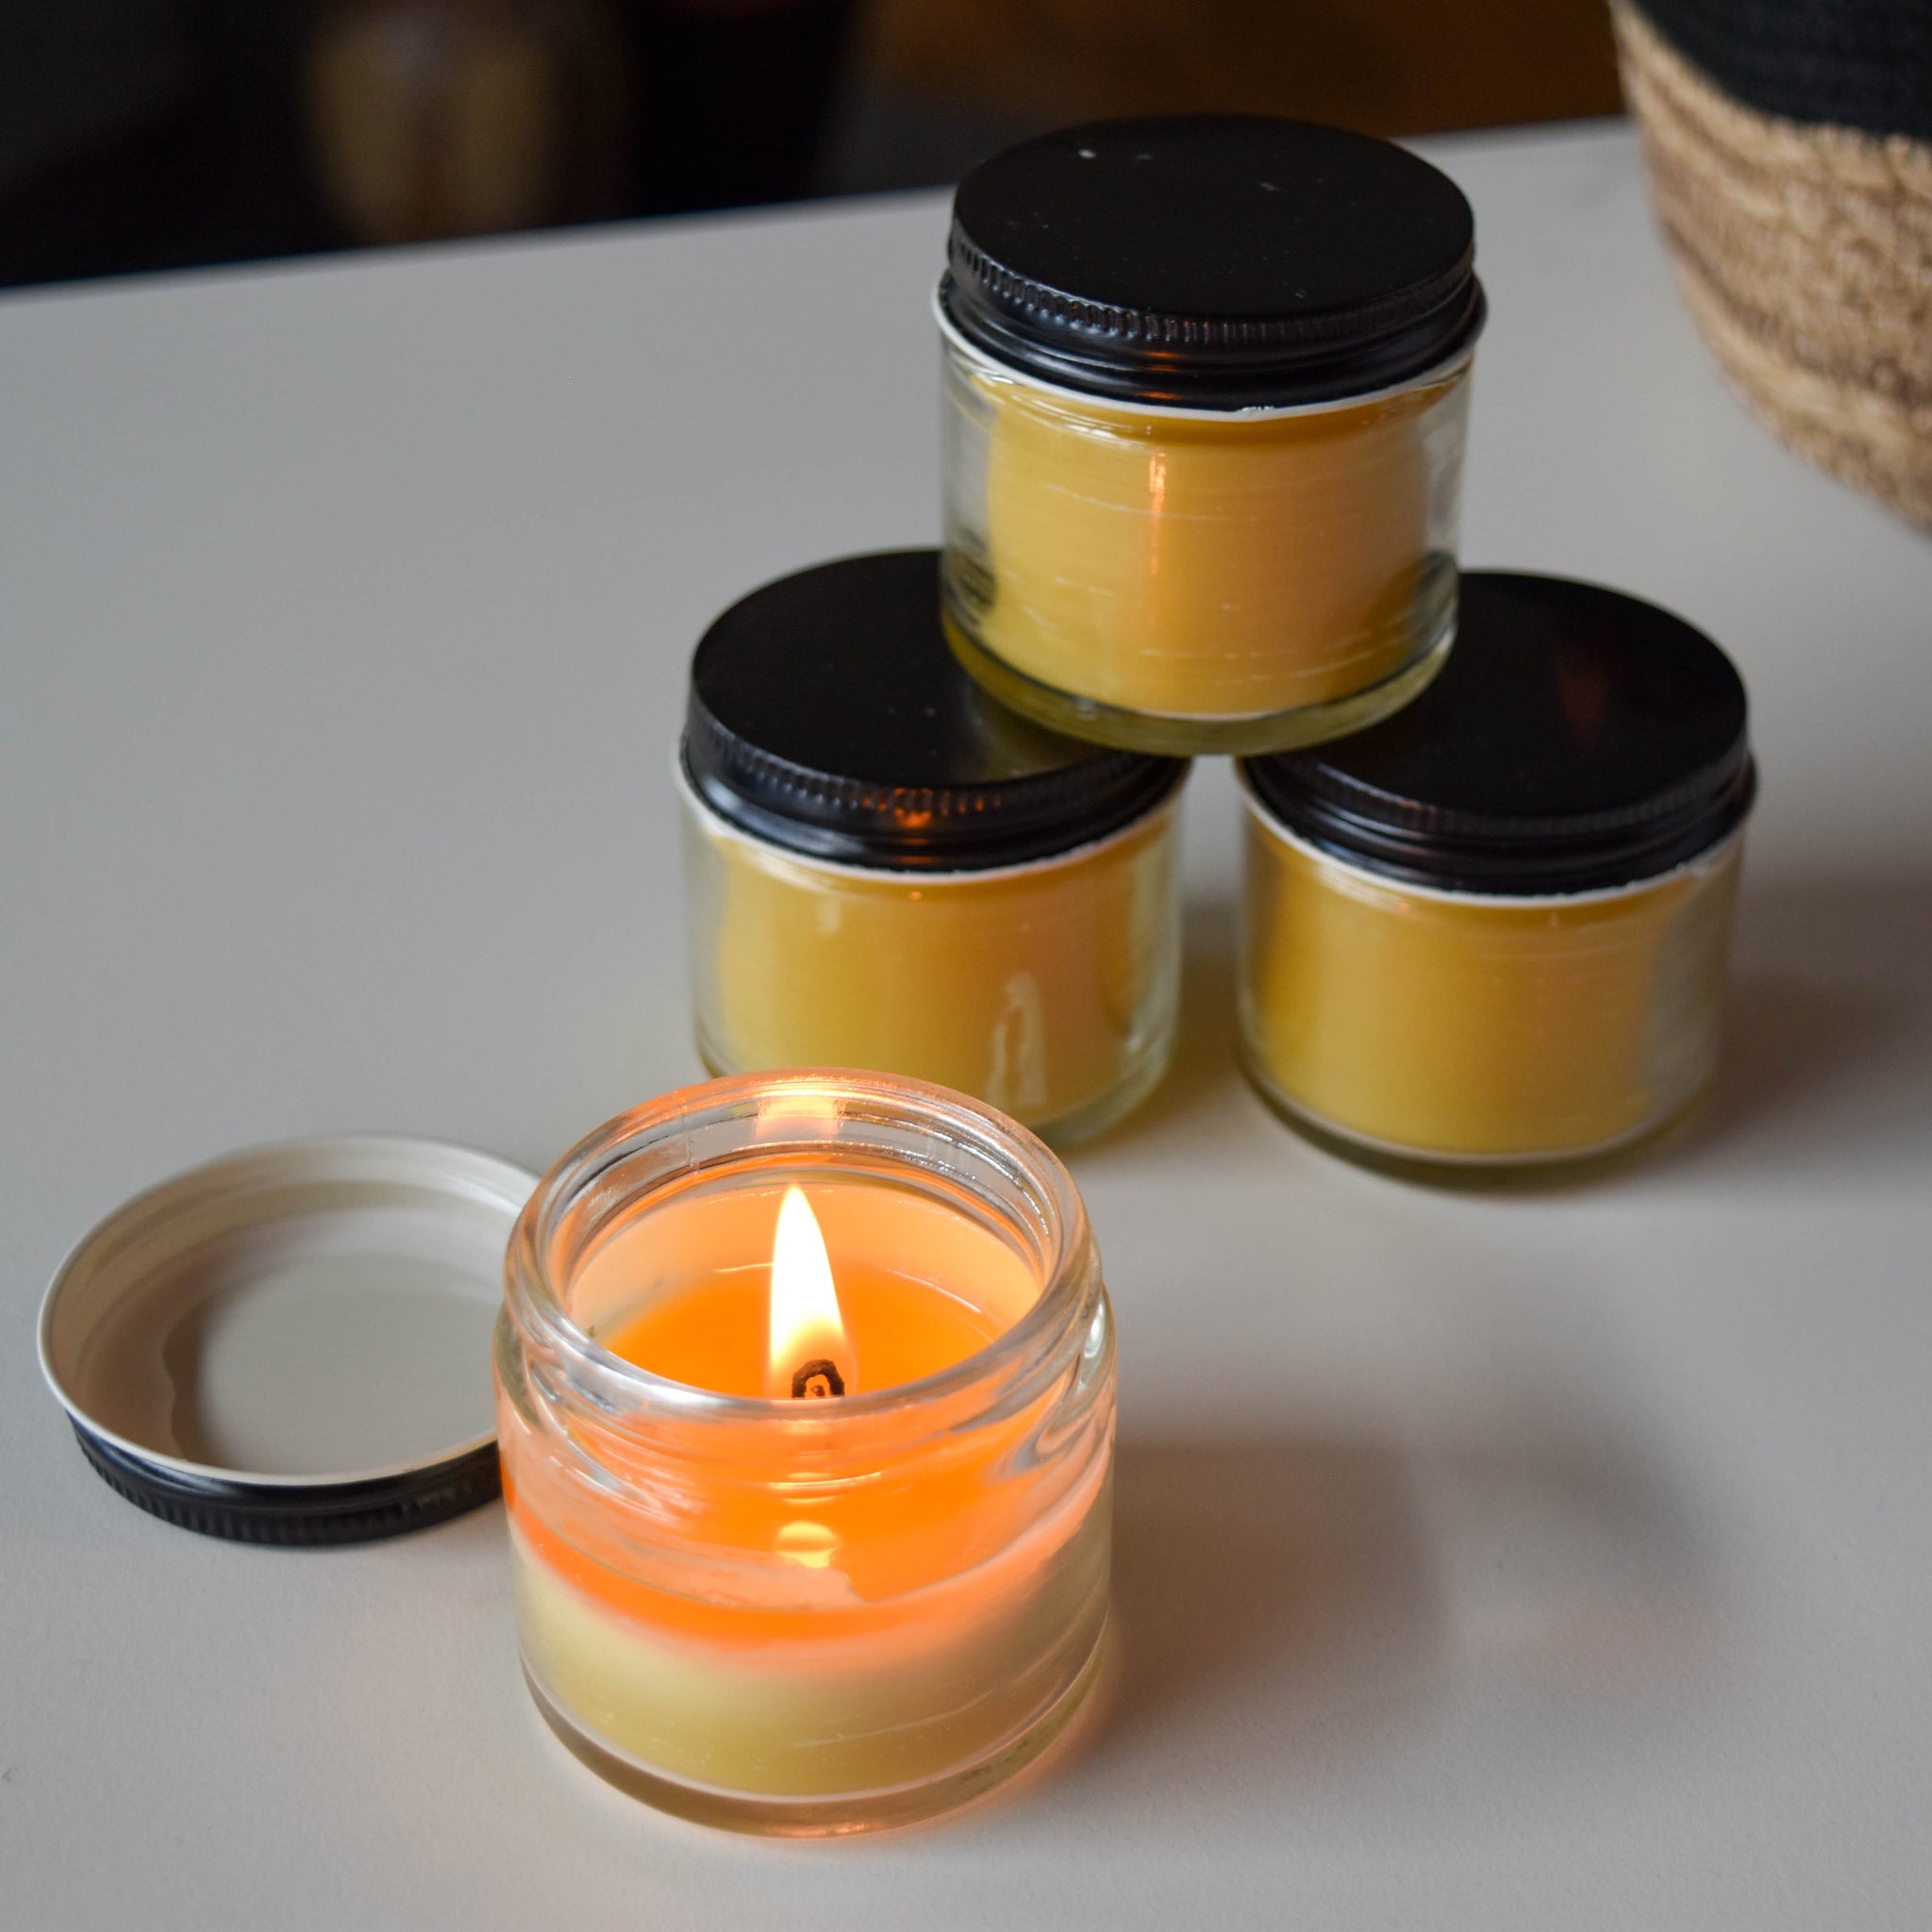
- Let cool completely. (To speed up the process you can pop them into the fridge.)
Tip: You may find it easier to pour only half the mold and place your string into the wax at this stage. Let it cool slightly before filling up the remainder of the mold.